
JewelTag — Free Jewellery Barcode Label Printing Software
Create and print jewellery product tags, manage item details, and work with ready-made label templates. This guide covers download, installation, item entry, printing and the original Tag 1–5 sample rolls.

What JewelTag offers
Print different types of jewellery product barcode labels.
Useful for jewellery retail shops and POS environments.
Supports jewellery product identification and labelling workflows in manufacturing.
The supplied software guide describes 360-degree barcode label design customisation.
Download JewelTag setup
Use the original setup file link below, then follow the Windows installation steps. The free barcode-label functions are covered in the guide; optional custom setup and support may have a charge.

Compatibility: The original instructions state that this software works on Windows operating systems. Check setup compatibility and scan downloaded installers with your security software before running them.
Installation instructions
- Download the setup file above and install it on your PC, laptop or desktop.
- Run the Barcode Label Software Garments setup included with the package (the original package uses this setup name).
- Install Ketan_Support from the Setup folder inside the Jewel Tag folder.
- Find the Jewel Tag icon on your desktop.
- Double-click the software icon to start JewelTag. Thank you for downloading the software.
Additional ready-made designs: All jewellery barcode label templates.
Other label-editing utility: Crystal Report 8.5.
Watch the installation and operating tutorial
The original video explains how to download, install and operate the software.
Download, installation and software operation
JewelTag user manual — start to finish
Follow these instructions after completing installation. The original guide also refers to a “Barcode Label Software Garments” desktop icon; for this page, use the installed JewelTag desktop shortcut.
1. Launch the software
Double-click the desktop shortcut after installation. Use the existing company supplied with the software rather than creating a new company.


2. Log in and open the dashboard
The original guide lists the default credentials as User ID: 1 and Password: 1. Enter these and select Login. The software dashboard will appear.

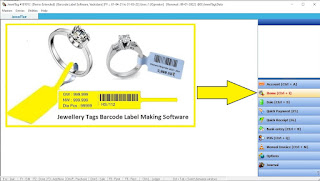
These credentials are reproduced from the supplied tutorial; use only for the installed software they refer to.
3. Open Item Master
Select Items or press Ctrl + I. The Item Master screen lists saved products. Use New to enter an item, or double-click a saved item to edit it.
Find an existing item by entering its name in the Filter box under the item list.


4. Save items, then open label printing
Complete the product fields using the table below. Save from the top-right corner, then press Esc or Close. Return to the Item List and choose Print Barcode Label.
What to enter in Item Master
The original guide recommends pressing Enter after every entry; using only Tab or skipping fields with the mouse may prevent information from saving properly.
| Field | What to do |
|---|---|
| Name | Enter the jewellery item name. |
| Short Name | Skip this field in the original tutorial. |
| HSN Code | The supplied demo guide says to leave it blank and press Enter. Use your legally required classification when applicable. |
| Tax Slab | The example instructions choose “Tax Free” and press Enter; select the correct tax treatment for actual sales. |
| Company | Use the pen/edit icon to change the existing company name to the text you want printed on the label. Click Update, then press Enter. |
| Group | Use the pen/edit icon to change the saved customer-care number or another static detail printed in the label footer. |
| Company & Group options | Use the plus (+) button beside either field to add additional entries; press Enter to continue. |
| Unit | Choose the default unit, then press Enter. |
| Maintain Gross Wt. | Tick this checkbox to display the weight-entry fields in the Price Details line. Press Enter. |
| Gross Wt. / Net Wt. | Enter the item weights where needed. You can skip unwanted fields or adjust visibility through Item Master Settings > Sub Item Master. |
| Sale Price | Enter the product MRP to appear on the label. |
| MRP | Enter the same MRP again in the MRP field, as directed by the original guide. |
| Other fields | Continue pressing Enter; other fields need not be filled in this tutorial. |
| Barcode | The software generates barcode numbers automatically, starting from “10001” in the example. |
| Multiple sizes | Press Enter to create another row for a different size/variation of the same product. |
| Save & Close | Click Save at the top right. Then use Esc or Close to return to the item list. |
5. Select items and quantities for printing
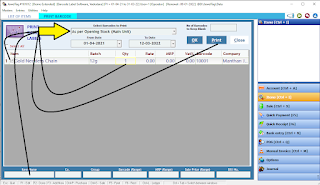
- Select As per Opening Stock Main Unit, then click OK to view saved jewellery products.
- Tick the checkbox to the left of each product or product pack you want to print. You may select multiple products at once.
- Enter the required number of labels in the Qty column. After typing, press Enter so the quantity field changes from yellow to white.
- Click Print at the top-right corner to proceed to the design/template screen.
Item selection and print quantity

6. Choose a label template and preview it
Choose the template you would like to print. Different tag templates have different layouts. Select Preview to check whether your product data appears correctly.
Print preview example

7. Check the preview and print the stickers
- Check that every product name, price, weight and other label detail is displayed correctly.
- To edit an item, return to Items, double-click the product, make changes, and choose Update. Repeat the preview steps.
- If a label does not preview, confirm that the item checkbox is ticked and a label quantity has been entered.
- Click the small printer icon in the top-left corner of the preview to print the sticker.
- The software uses the default printer set in Windows. If needed, set the correct printer in Windows Devices & Printers in Control Panel.
Printing labels and choosing your Windows printer
Windows printer selection reference

Thank you for reading the complete guide.
Additional JewelTag software demonstration
Ready-made label templates and software options
Explore available label design templates and the original free software setup link. Separate paid jewellery billing and barcoding software includes sales, purchase, stock, GST and accounting features.
Software download and paid business-management option


Original tag links
Tag barcode roll details
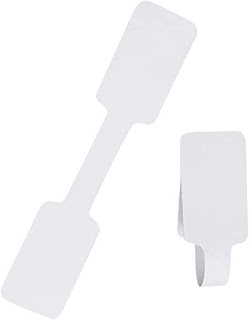
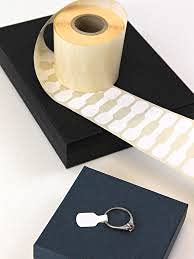
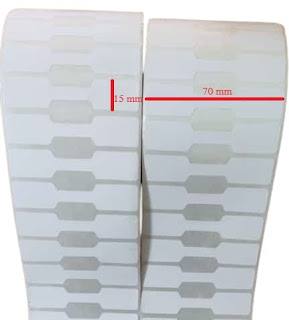
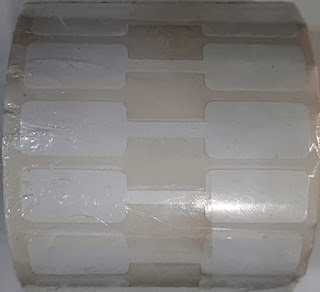
See the different ready-made jewellery label tag examples. Each picture remains linked to the original larger image, and all original Amazon roll links appear with their corresponding tag group.
Tag 1 — Jewellery label roll
Back to tag navigation



Amazon purchase links for this roll:
Tag 2 — Jewellery label roll
Back to tag navigation


Amazon purchase links for this roll:
Tag 3 — Jewellery label roll
Back to tag navigation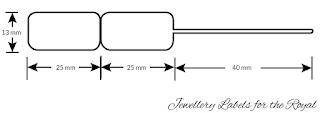


Amazon purchase links for this roll:
Tag 4 — Jewellery label roll
Back to tag navigation
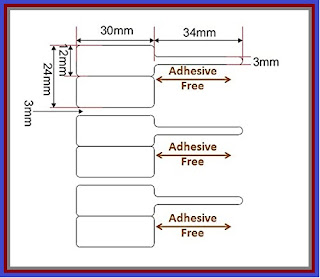
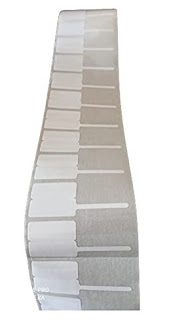

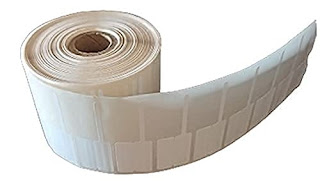
Amazon purchase link for this roll:
Tag 5 — Jewellery label roll
Back to tag navigation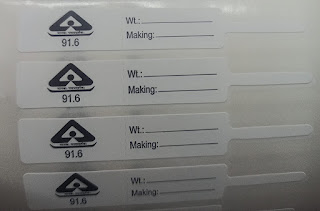

Amazon purchase link for this roll:
More jewellery software videos and resources
Watch the original jewellery business software video playlist, review other ready-made templates, or return to the free JewelTag setup link.
Video playlist, template designs and download
